- Python
- Java
You can find the complete code for this tutorial here.Add your key to the Add You can find the complete The client will: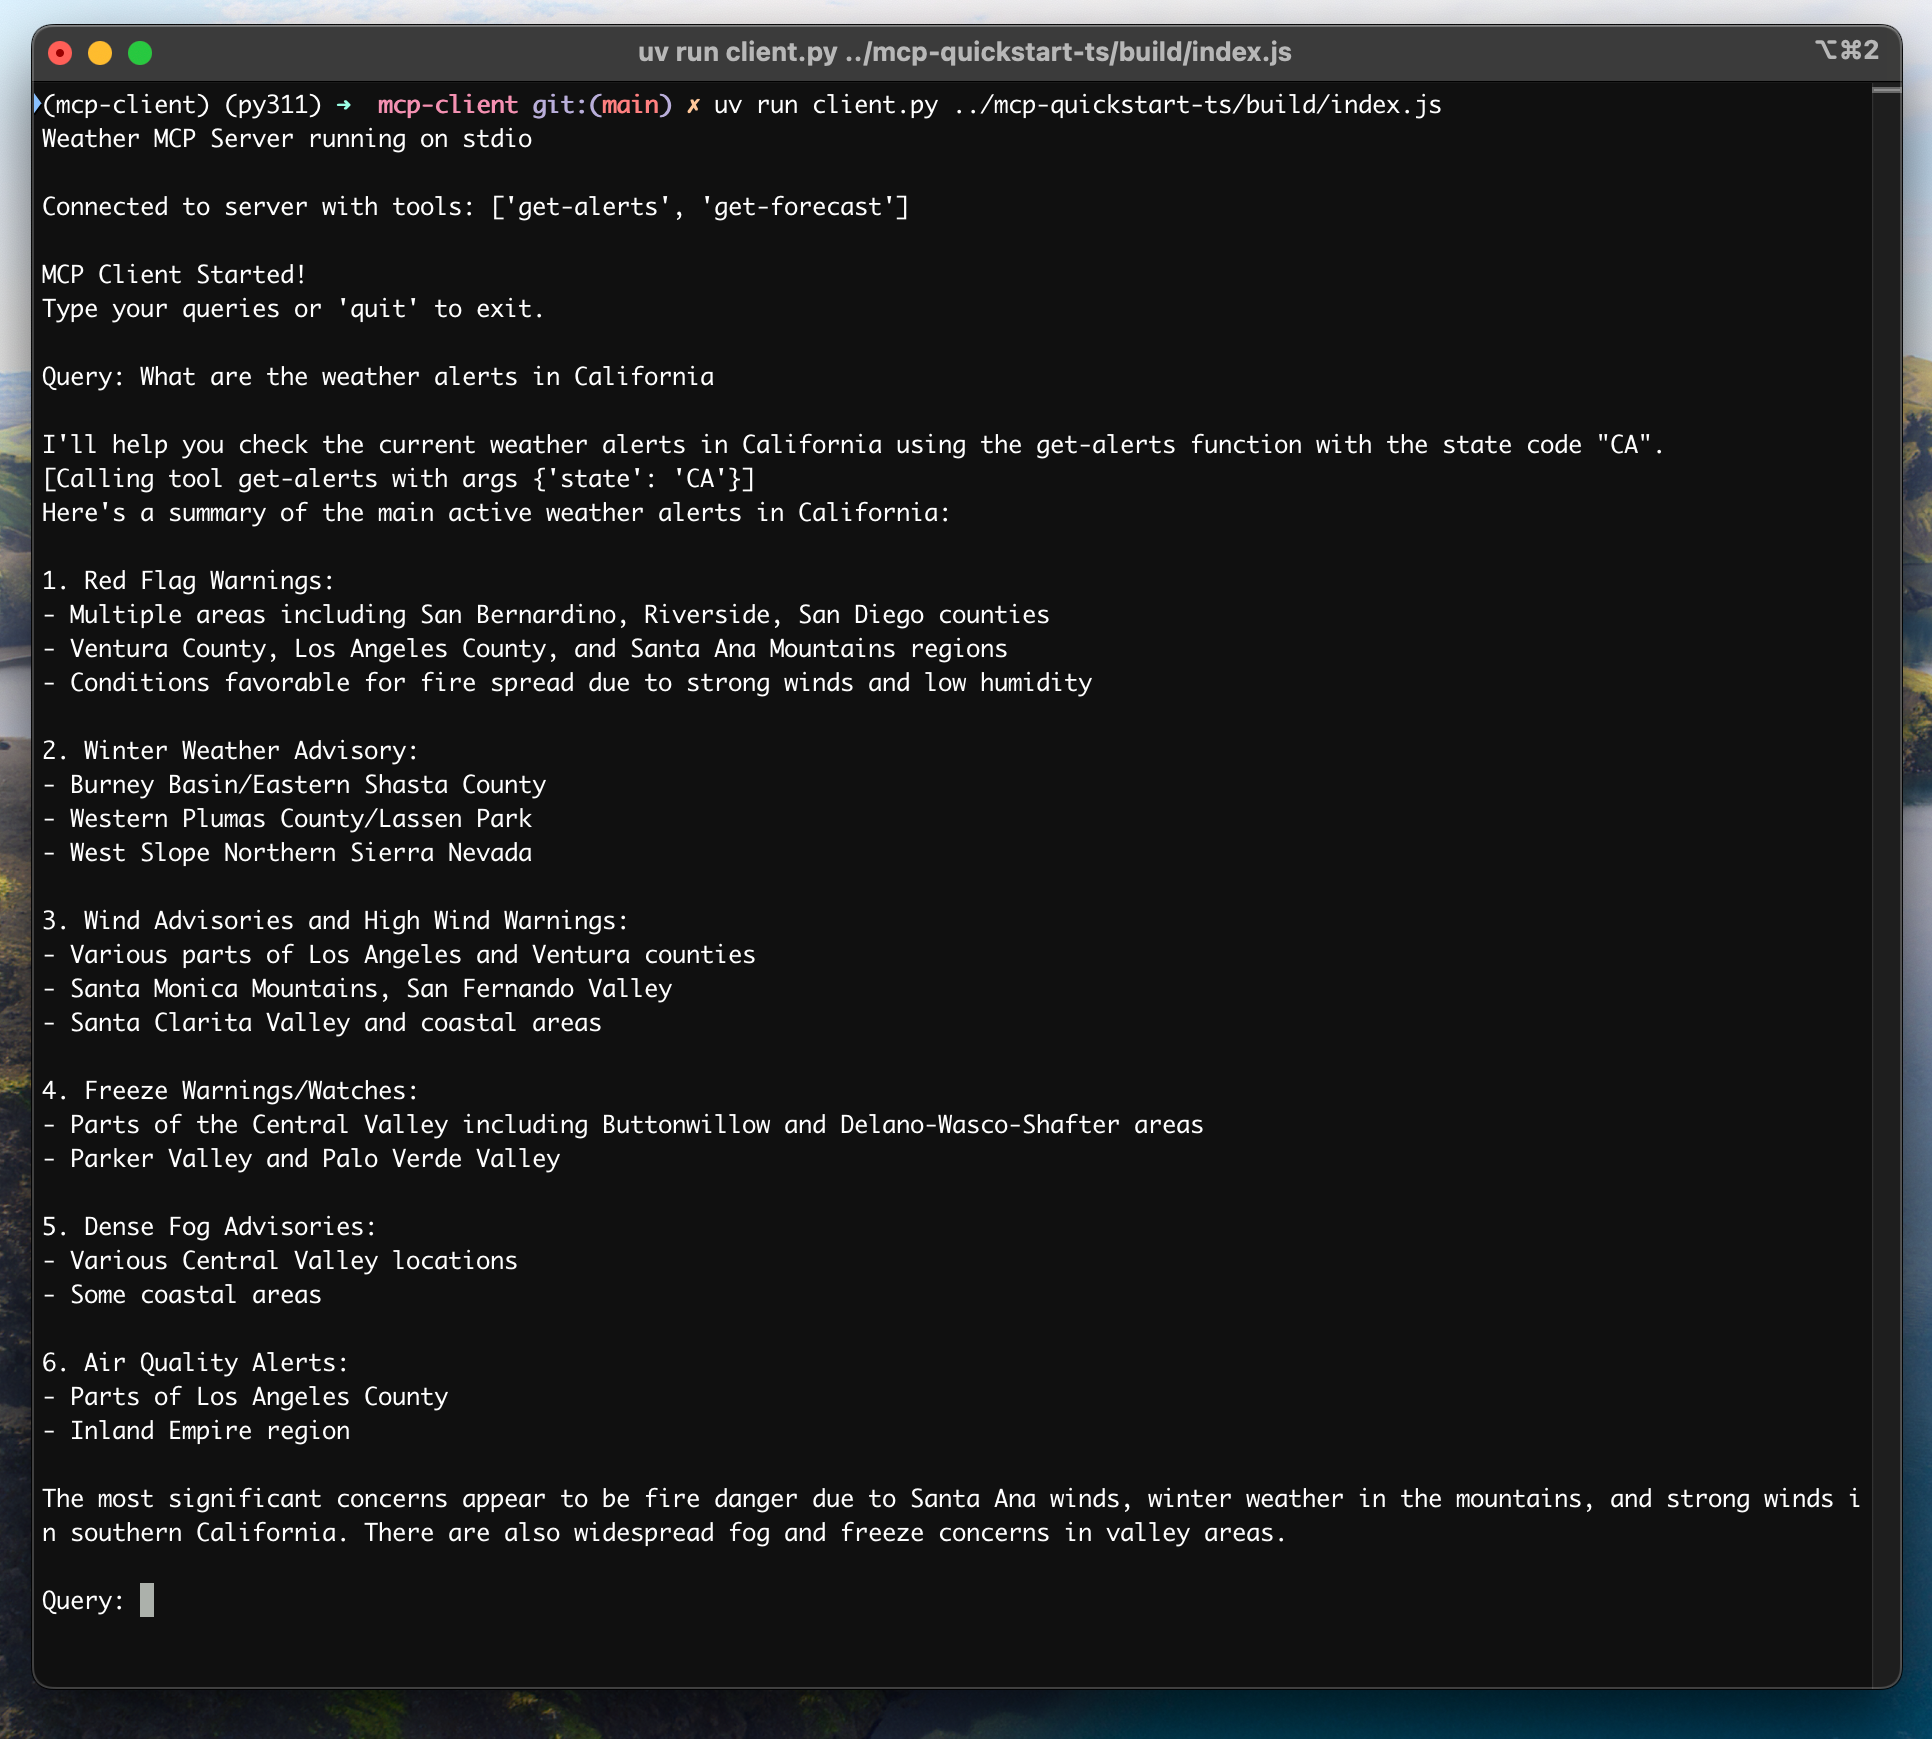
System Requirements
Before starting, ensure your system meets these requirements:- Mac or Windows computer
- Latest Python version installed
- Latest version of
uvinstalled
Setting Up Your Environment
First, create a new Python project withuv:Setting Up Your API Key
You’ll need an Anthropic API key from the Anthropic Console.Create a.env file to store it:.env file:.env to your .gitignore:Creating the Client
Basic Client Structure
First, let’s set up our imports and create the basic client class:Server Connection Management
Next, we’ll implement the method to connect to an MCP server:Query Processing Logic
Now let’s add the core functionality for processing queries and handling tool calls:Interactive Chat Interface
Now we’ll add the chat loop and cleanup functionality:Main Entry Point
Finally, we’ll add the main execution logic:client.py file here.Key Components Explained
1. Client Initialization
- The
MCPClientclass initializes with session management and API clients - Uses
AsyncExitStackfor proper resource management - Configures the Anthropic client for Claude interactions
2. Server Connection
- Supports both Python and Node.js servers
- Validates server script type
- Sets up proper communication channels
- Initializes the session and lists available tools
3. Query Processing
- Maintains conversation context
- Handles Claude’s responses and tool calls
- Manages the message flow between Claude and tools
- Combines results into a coherent response
4. Interactive Interface
- Provides a simple command-line interface
- Handles user input and displays responses
- Includes basic error handling
- Allows graceful exit
5. Resource Management
- Proper cleanup of resources
- Error handling for connection issues
- Graceful shutdown procedures
Common Customization Points
-
Tool Handling
- Modify
process_query()to handle specific tool types - Add custom error handling for tool calls
- Implement tool-specific response formatting
- Modify
-
Response Processing
- Customize how tool results are formatted
- Add response filtering or transformation
- Implement custom logging
-
User Interface
- Add a GUI or web interface
- Implement rich console output
- Add command history or auto-completion
Running the Client
To run your client with any MCP server:If you’re continuing the weather tutorial from the server quickstart, your command might look something like this:
python client.py .../weather/src/weather/server.py- Connect to the specified server
- List available tools
- Start an interactive chat session where you can:
- Enter queries
- See tool executions
- Get responses from Claude
How It Works
When you submit a query:- The client gets the list of available tools from the server
- Your query is sent to Claude along with tool descriptions
- Claude decides which tools (if any) to use
- The client executes any requested tool calls through the server
- Results are sent back to Claude
- Claude provides a natural language response
- The response is displayed to you
Best practices
-
Error Handling
- Always wrap tool calls in try-catch blocks
- Provide meaningful error messages
- Gracefully handle connection issues
-
Resource Management
- Use
AsyncExitStackfor proper cleanup - Close connections when done
- Handle server disconnections
- Use
-
Security
- Store API keys securely in
.env - Validate server responses
- Be cautious with tool permissions
- Store API keys securely in
Troubleshooting
Server Path Issues
- Double-check the path to your server script is correct
- Use the absolute path if the relative path isn’t working
- For Windows users, make sure to use forward slashes (/) or escaped backslashes (\) in the path
- Verify the server file has the correct extension (.py for Python or .js for Node.js)
Response Timing
- The first response might take up to 30 seconds to return
- This is normal and happens while:
- The server initializes
- Claude processes the query
- Tools are being executed
- Subsequent responses are typically faster
- Don’t interrupt the process during this initial waiting period
Common Error Messages
If you see:FileNotFoundError: Check your server pathConnection refused: Ensure the server is running and the path is correctTool execution failed: Verify the tool’s required environment variables are setTimeout error: Consider increasing the timeout in your client configuration
Next steps
Example servers
Check out our gallery of official MCP servers and implementations
Clients
View the list of clients that support MCP integrations
Building MCP with LLMs
Learn how to use LLMs like Claude to speed up your MCP development
Core architecture
Understand how MCP connects clients, servers, and LLMs