What we’ll be building
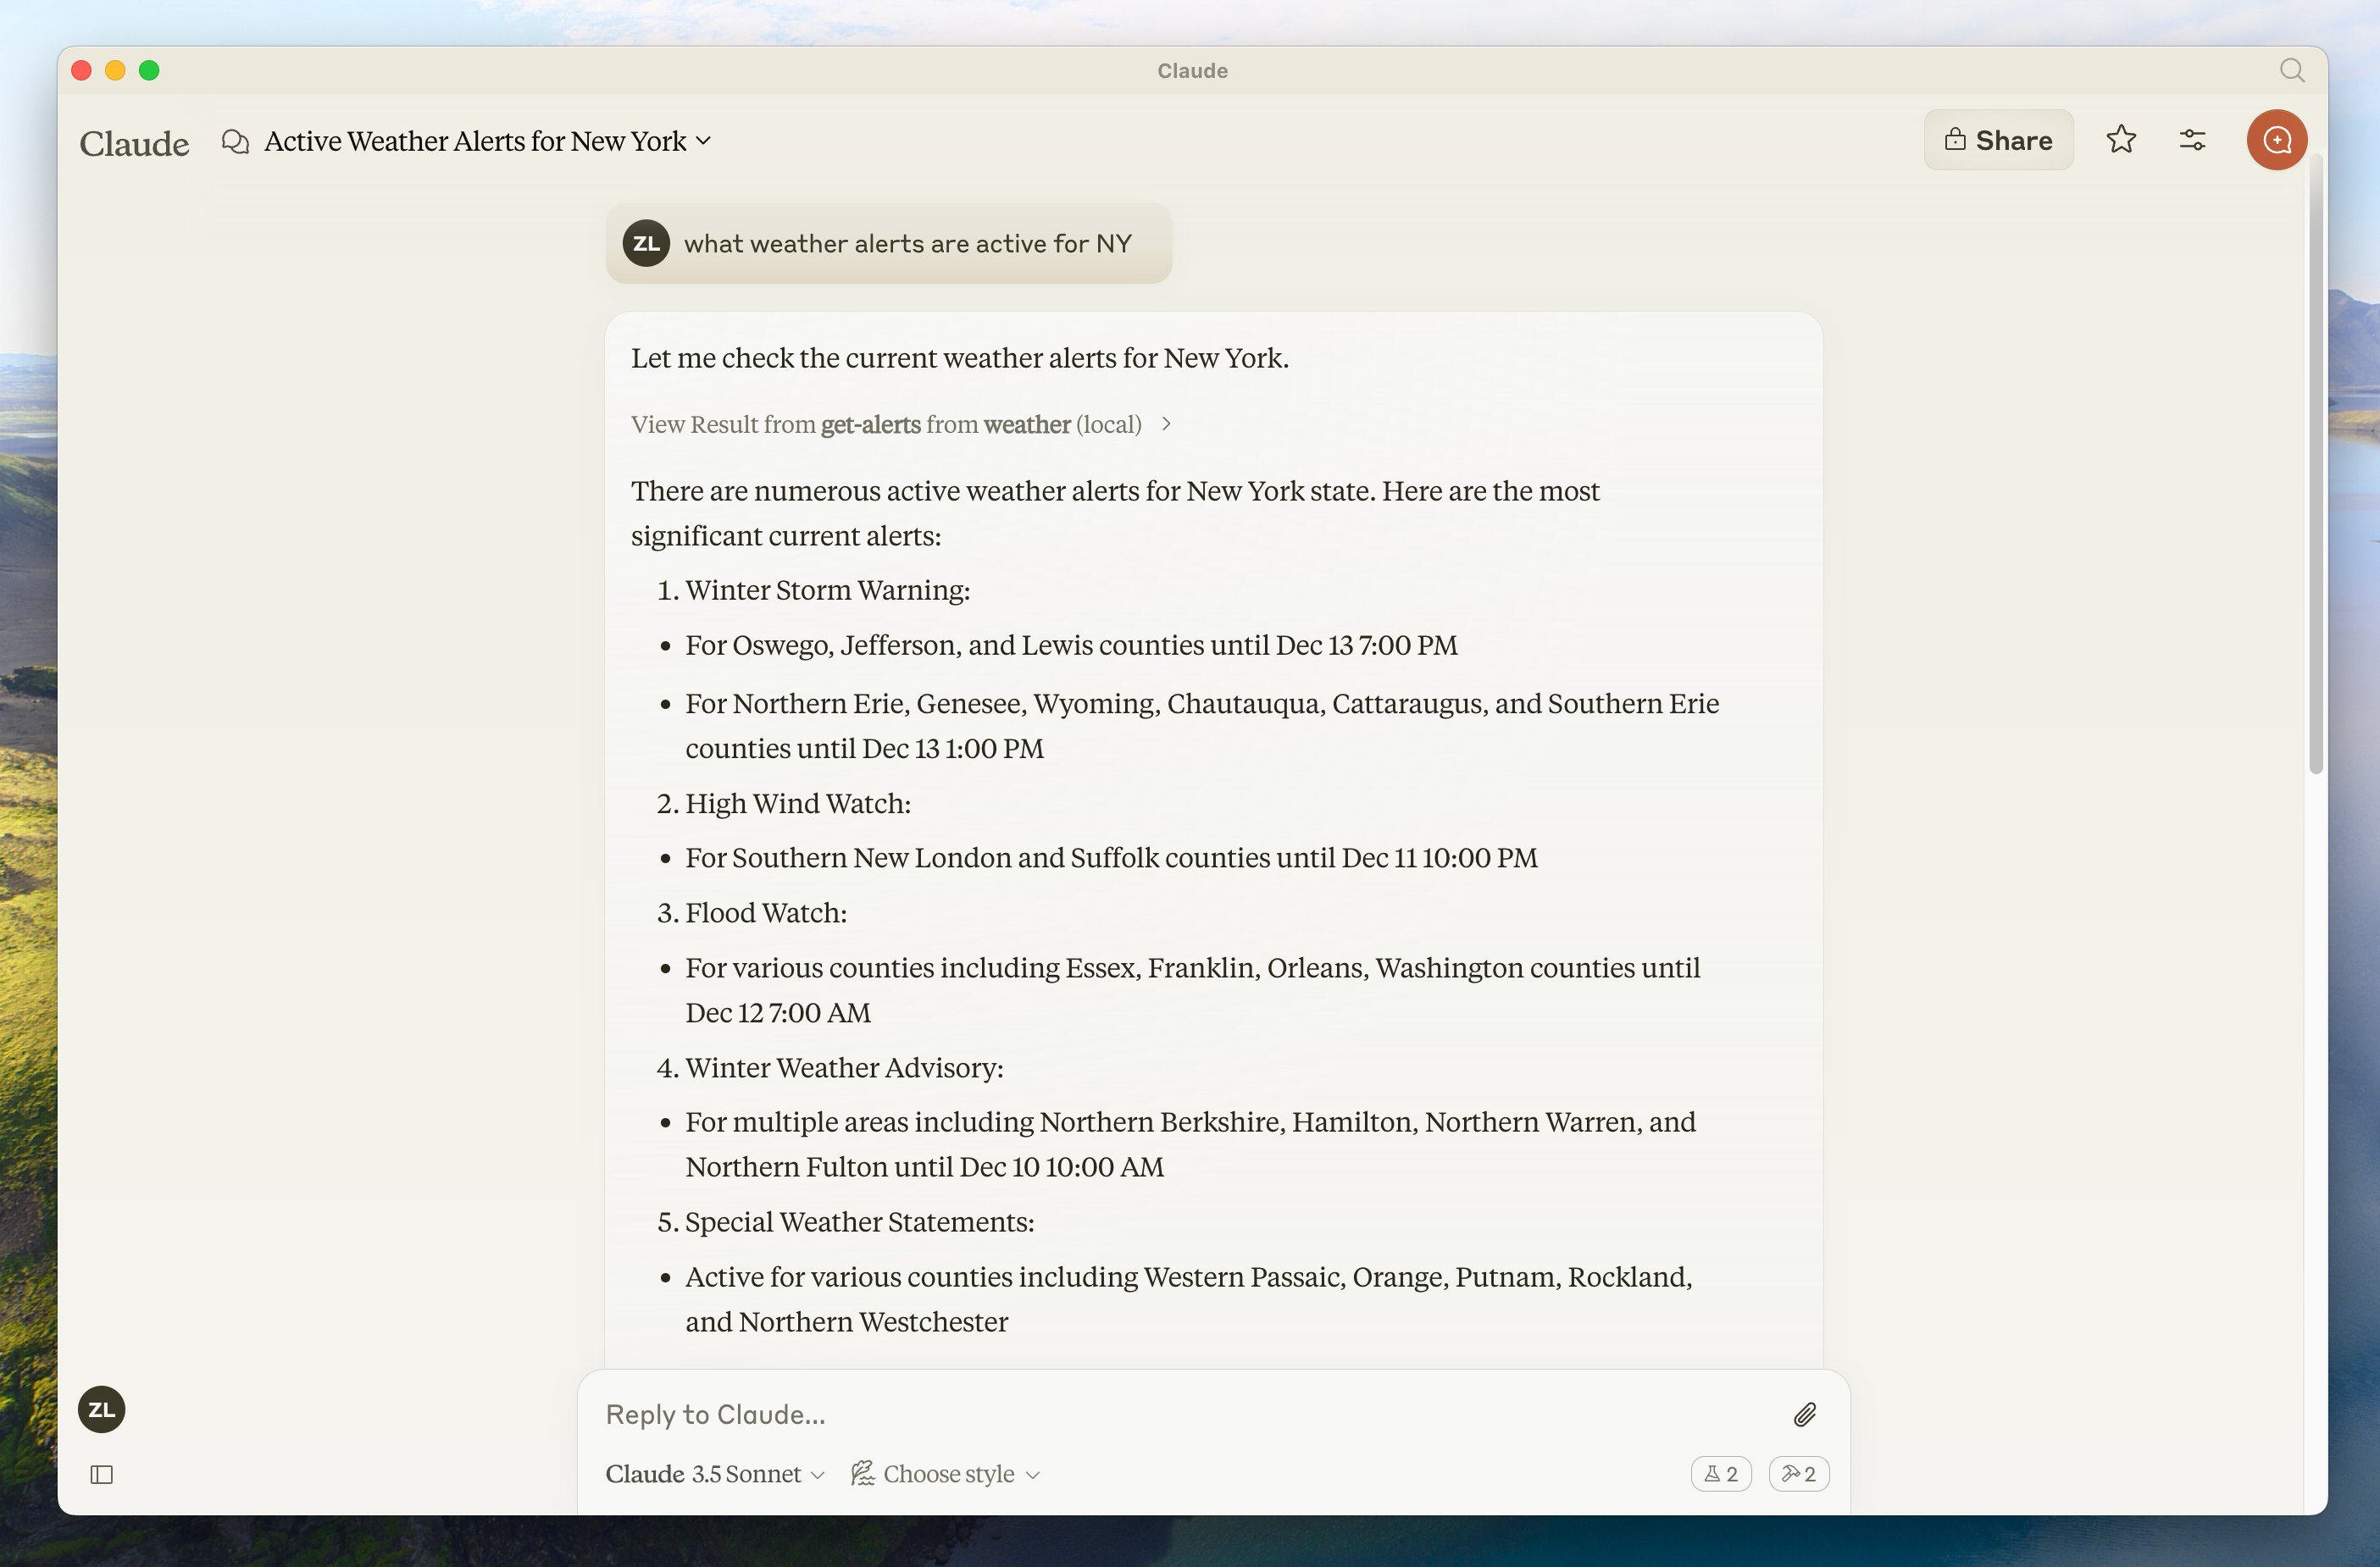
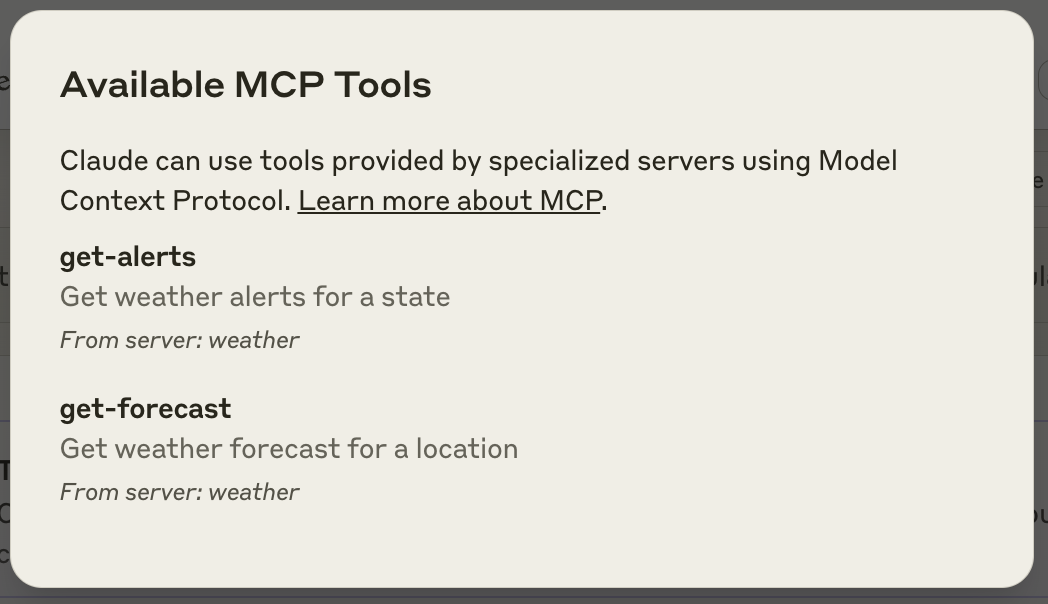
Many LLMs (including Claude) do not currently have the ability to fetch the forecast and severe weather alerts. Let’s use MCP to solve that! We’ll build a server that exposes two tools:get-alerts and get-forecast. Then we’ll connect the server to an MCP host (in this case, Claude for Desktop):
Servers can connect to any client. We’ve chosen Claude for Desktop here for simplicity, but we also have guides on building your own client as well as a list of other clients here.
Why Claude for Desktop and not Claude.ai?
Why Claude for Desktop and not Claude.ai?
Because servers are locally run, MCP currently only supports desktop hosts. Remote hosts are in active development.
Core MCP Concepts
MCP servers can provide three main types of capabilities:- Resources: File-like data that can be read by clients (like API responses or file contents)
- Tools: Functions that can be called by the LLM (with user approval)
- Prompts: Pre-written templates that help users accomplish specific tasks
- Python
- Node
- Java
Let’s get started with building our weather server! You can find the complete code for what we’ll be building here.Make sure to restart your terminal afterwards to ensure that the Now let’s dive into building your server.The FastMCP class uses Python type hints and docstrings to automatically generate tool definitions, making it easy to create and maintain MCP tools.Your server is complete! Run First, make sure you have Claude for Desktop installed. You can install the latest version
here. If you already have Claude for Desktop, make sure it’s updated to the latest version.We’ll need to configure Claude for Desktop for whichever MCP servers you want to use. To do this, open your Claude for Desktop App configuration at You’ll then add your servers in the This tells Claude for Desktop:
Prerequisite knowledge
This quickstart assumes you have familiarity with:- Python
- LLMs like Claude
System requirements
- Python 3.10 or higher installed.
- You must use the Python MCP SDK 1.2.0 or higher.
Set up your environment
First, let’s installuv and set up our Python project and environment:uv command gets picked up.Now, let’s create and set up our project:Building your server
Importing packages and setting up the instance
Add these to the top of yourweather.py:Helper functions
Next, let’s add our helper functions for querying and formatting the data from the National Weather Service API:Implementing tool execution
The tool execution handler is responsible for actually executing the logic of each tool. Let’s add it:Running the server
Finally, let’s initialize and run the server:uv run weather.py to confirm that everything’s working.Let’s now test your server from an existing MCP host, Claude for Desktop.Testing your server with Claude for Desktop
Claude for Desktop is not yet available on Linux. Linux users can proceed to the Building a client tutorial to build an MCP client that connects to the server we just built.
~/Library/Application Support/Claude/claude_desktop_config.json in a text editor. Make sure to create the file if it doesn’t exist.For example, if you have VS Code installed:- MacOS/Linux
- Windows
mcpServers key. The MCP UI elements will only show up in Claude for Desktop if at least one server is properly configured.In this case, we’ll add our single weather server like so:- MacOS/Linux
- Windows
Python
Make sure you pass in the absolute path to your server.
- There’s an MCP server named “weather”
- To launch it by running
uv --directory /ABSOLUTE/PATH/TO/PARENT/FOLDER/weather run weather
Test with commands
Let’s make sure Claude for Desktop is picking up the two tools we’ve exposed in ourweather server. You can do this by looking for the hammer 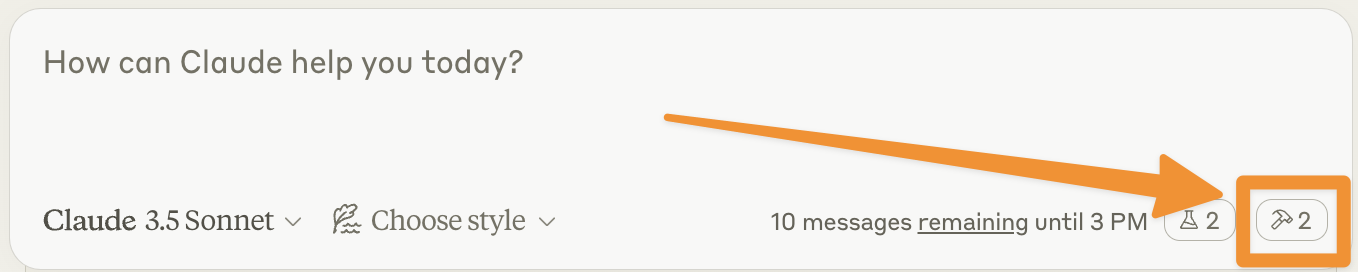
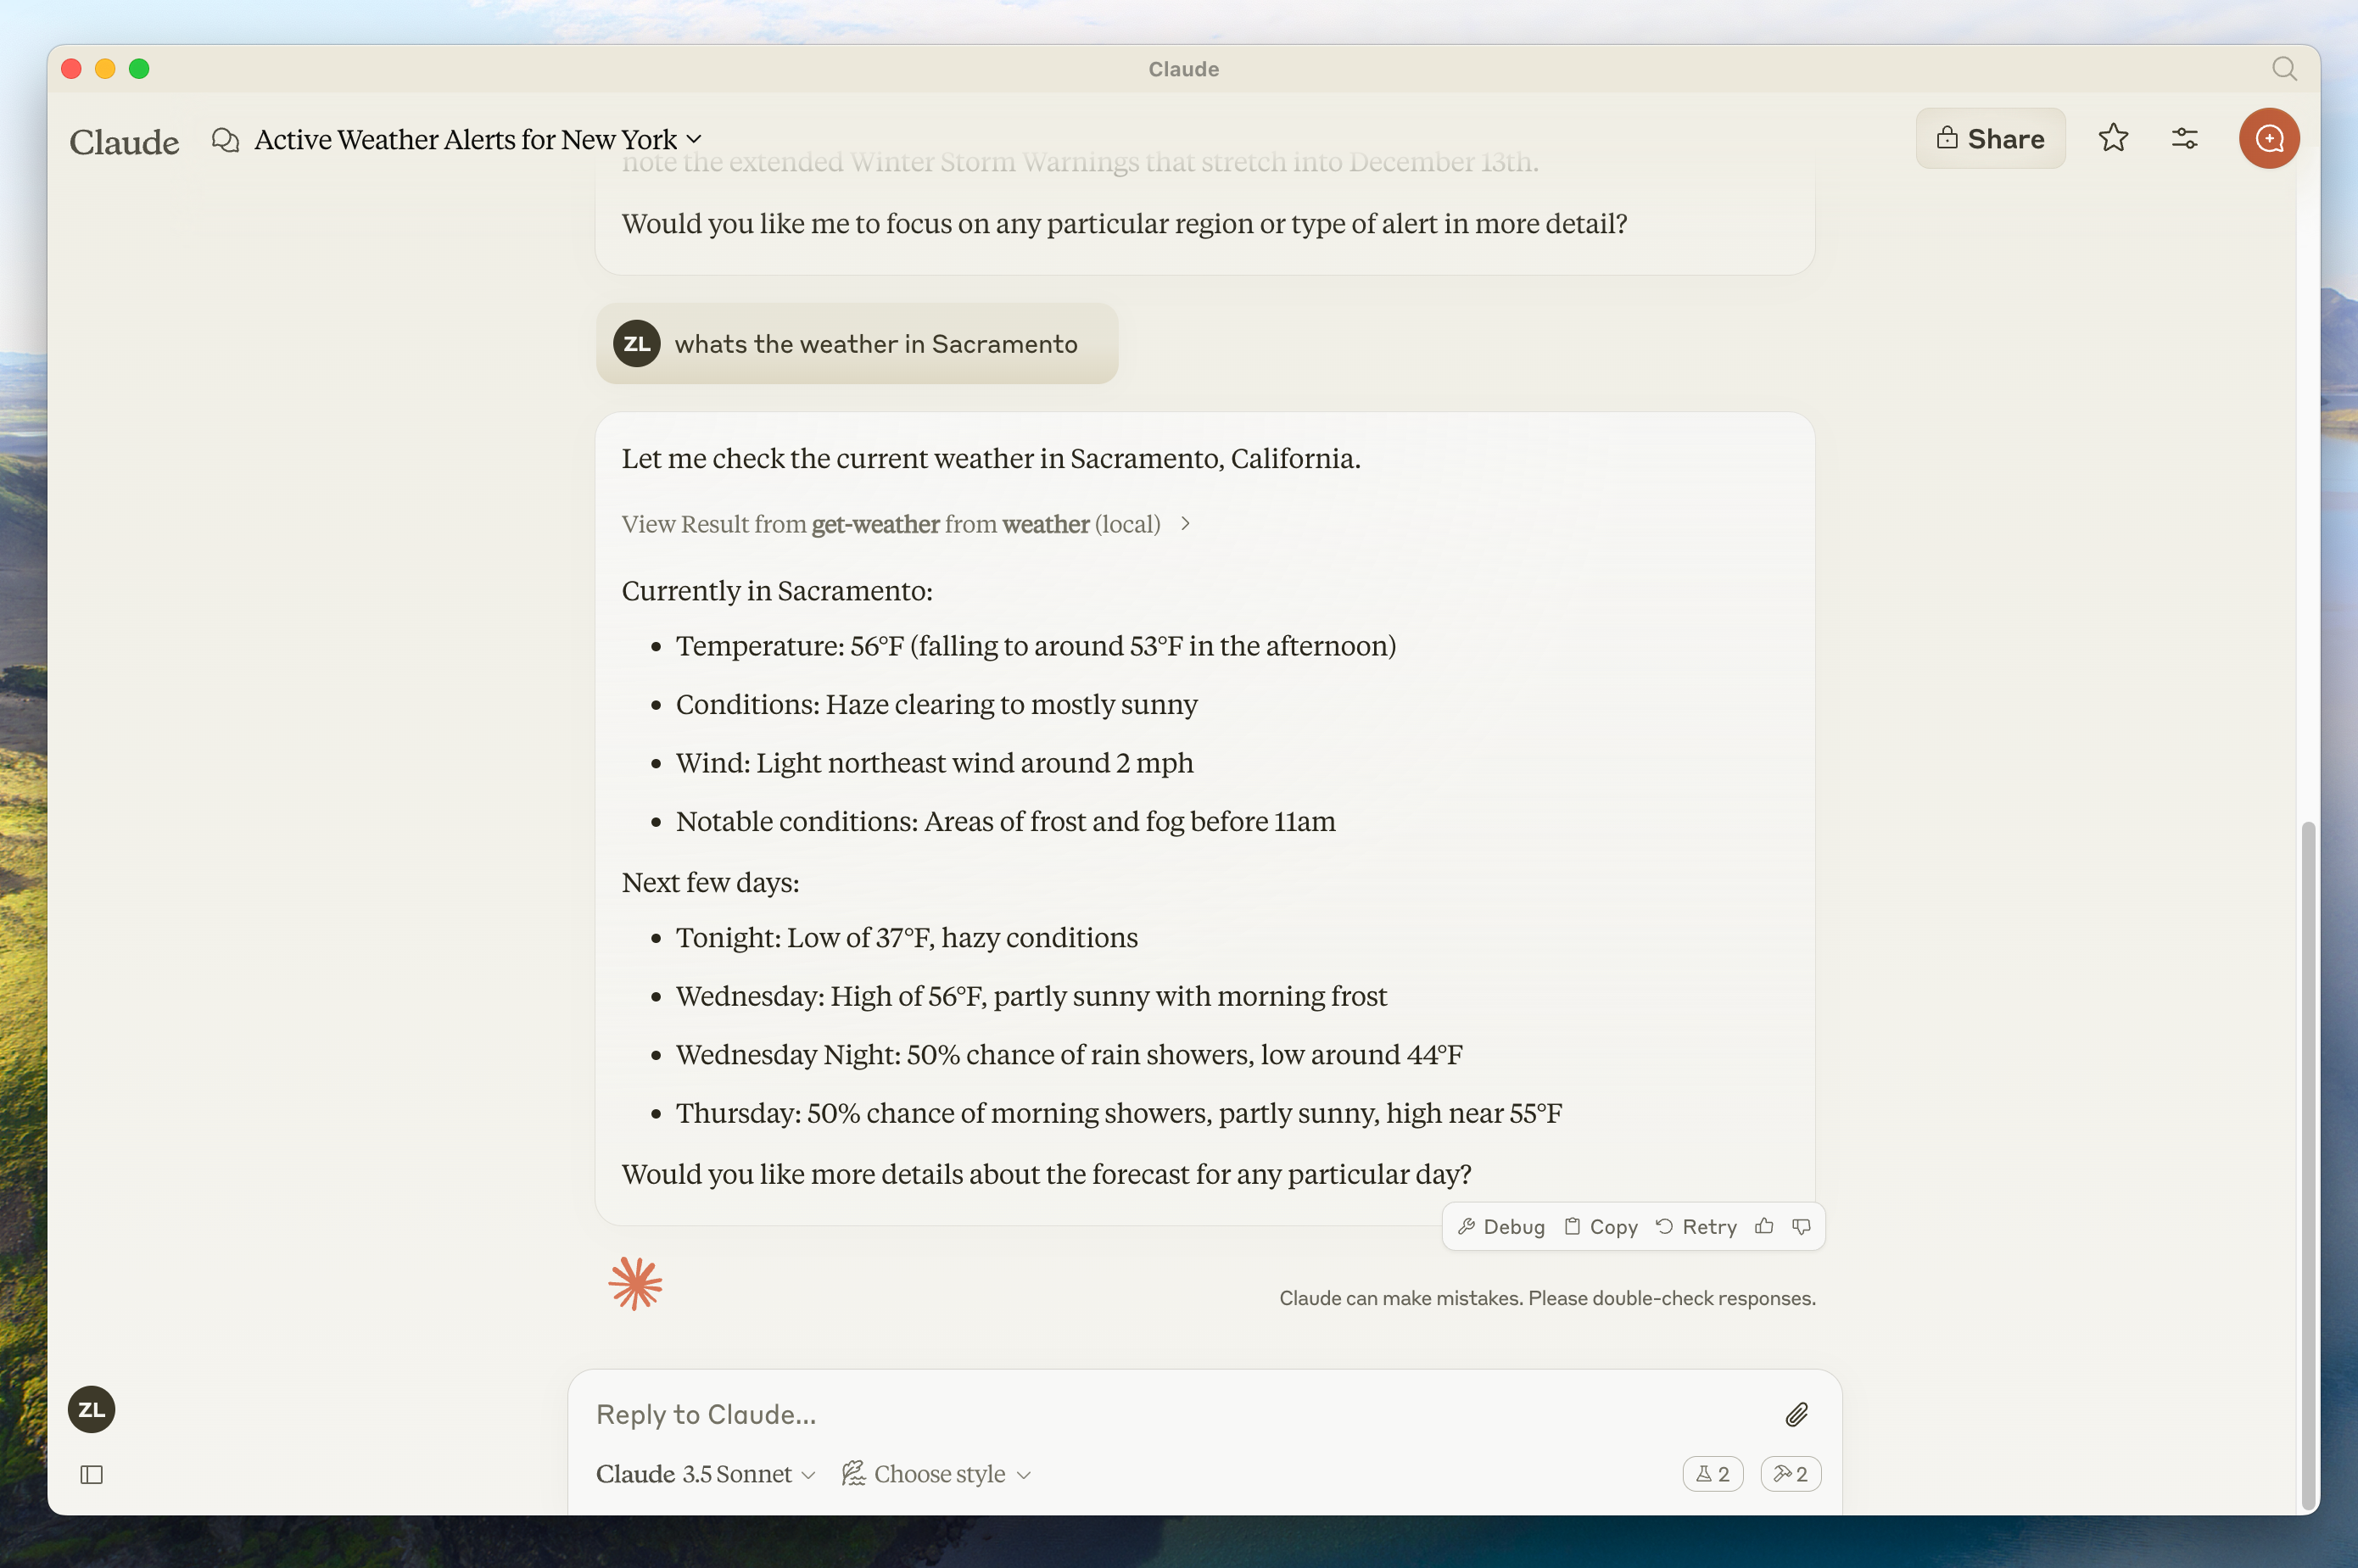
- What’s the weather in Sacramento?
- What are the active weather alerts in Texas?
Since this is the US National Weather service, the queries will only work for US locations.
What’s happening under the hood
When you ask a question:- The client sends your question to Claude
- Claude analyzes the available tools and decides which one(s) to use
- The client executes the chosen tool(s) through the MCP server
- The results are sent back to Claude
- Claude formulates a natural language response
- The response is displayed to you!
Troubleshooting
Claude for Desktop Integration Issues
Claude for Desktop Integration Issues
Getting logs from Claude for DesktopClaude.app logging related to MCP is written to log files in Server not showing up in Claude
~/Library/Logs/Claude:mcp.logwill contain general logging about MCP connections and connection failures.- Files named
mcp-server-SERVERNAME.logwill contain error (stderr) logging from the named server.
- Check your
claude_desktop_config.jsonfile syntax - Make sure the path to your project is absolute and not relative
- Restart Claude for Desktop completely
- Check Claude’s logs for errors
- Verify your server builds and runs without errors
- Try restarting Claude for Desktop
Weather API Issues
Weather API Issues
Error: Failed to retrieve grid point dataThis usually means either:
- The coordinates are outside the US
- The NWS API is having issues
- You’re being rate limited
- Verify you’re using US coordinates
- Add a small delay between requests
- Check the NWS API status page
For more advanced troubleshooting, check out our guide on Debugging MCP
Next steps
Building a client
Learn how to build your own MCP client that can connect to your server
Example servers
Check out our gallery of official MCP servers and implementations
Debugging Guide
Learn how to effectively debug MCP servers and integrations
Building MCP with LLMs
Learn how to use LLMs like Claude to speed up your MCP development